Install Party 1.0
A few weeks ago, I attended Ubucon Europe in Sintra with two of my colleagues from the Matrix core team (oh, yes, if you didn’t know already, I joined New Vector about a year ago, and I’ve been working on Matrix as my full-time job since then). We had a few chats with very nice people, and also hosted two Matrix-related workshops.
One of these workshops, which happened on the morning of the last day, was about installing Synapse, the reference Matrix homeserver implementation. The goal was to give attendees a presentation about what Matrix is, get them to install their own homeserver, and, if possible, to get everyone’s server to federate with everyone else’s.
This is not a trivial thing to do, especially when the technical expertise of the attendence looks quite diverse. After a quick brainstorm on how to do that, Ben suggested that we give everyone access to a VPS that is accessible from the Internet, with SSH access and a domain name.
This would make things much easier than trying to get attendees to install a server on their own machine (no need to setup a custom CA, or a local DNS server), but I know well enough how making a workshop or a talk rely on Internet connectivity can really jinx it. The connectivity seemed good enough there though, so I figured I’d give a try at automating the provisioning of such servers. This evolved into a project I’ve kept working on afterwards named “Install Party”.
Install Party
Install Party is a Python module that allows users to provision a server by creating an instance (a physical or virtual machine), attaching a DNS A record to it, and running a script that installs and configures Riot and Caddy on that instance.
This can be done by simply running python -m install_party create -N x, with
the number of servers to create as x:
$ python install_party create -N 3
INFO - Provisioning server coogl (expected domain name coogl.ubucon.abolivier.bzh)
INFO - Creating instance...
INFO - Waiting for instance to become active...
INFO - Host is active, IPv4 address is 54.38.70.225
INFO - Creating DNS record...
INFO - Created DNS record coogl.ubucon.abolivier.bzh
INFO - Waiting for post-creation script to finish...
INFO - Done!
INFO - Provisioning server czxcx (expected domain name czxcx.ubucon.abolivier.bzh)
INFO - Creating instance...
INFO - Waiting for instance to become active...
INFO - Host is active, IPv4 address is 54.38.70.93
INFO - Creating DNS record...
INFO - Created DNS record czxcx.ubucon.abolivier.bzh
INFO - Waiting for post-creation script to finish...
INFO - Done!
INFO - Provisioning server jswho (expected domain name jswho.ubucon.abolivier.bzh)
INFO - Creating instance...
INFO - Waiting for instance to become active...
INFO - Host is active, IPv4 address is 54.38.71.74
INFO - Creating DNS record...
INFO - Created DNS record jswho.ubucon.abolivier.bzh
INFO - Waiting for post-creation script to finish...
INFO - Done!

All servers have been created:
	- coogl.ubucon.abolivier.bzh
	- czxcx.ubucon.abolivier.bzh
	- jswho.ubucon.abolivier.bzh
$
(I’ve trimmed the log lines' length here, it’s usually longer and feature the date and the name of the module sending the line, but that would have been unreadable in this post. This will also be the case for other similar sections of the post.)
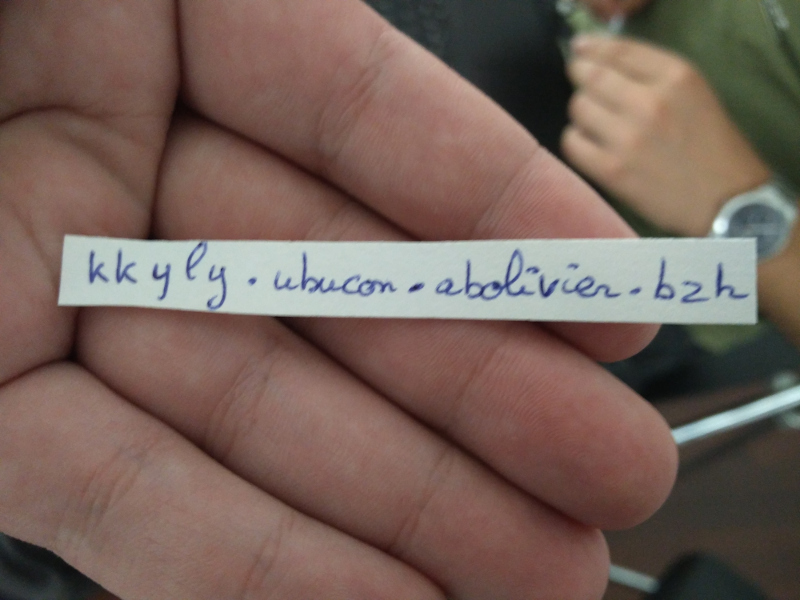
The workshop’s host can then hand out the domain name attached to a server to each attendee, who can then log in via SSH to the server and install and configure a Matrix homeserver (including, if applicable, its built-in ACME support for automatic provisioning of the certificate needed for federation). As an example, here are the instructions we got the attendees to follow during our workshop at Ubucon Europe.
 One of the domains I handed out during our workshop at Ubucon
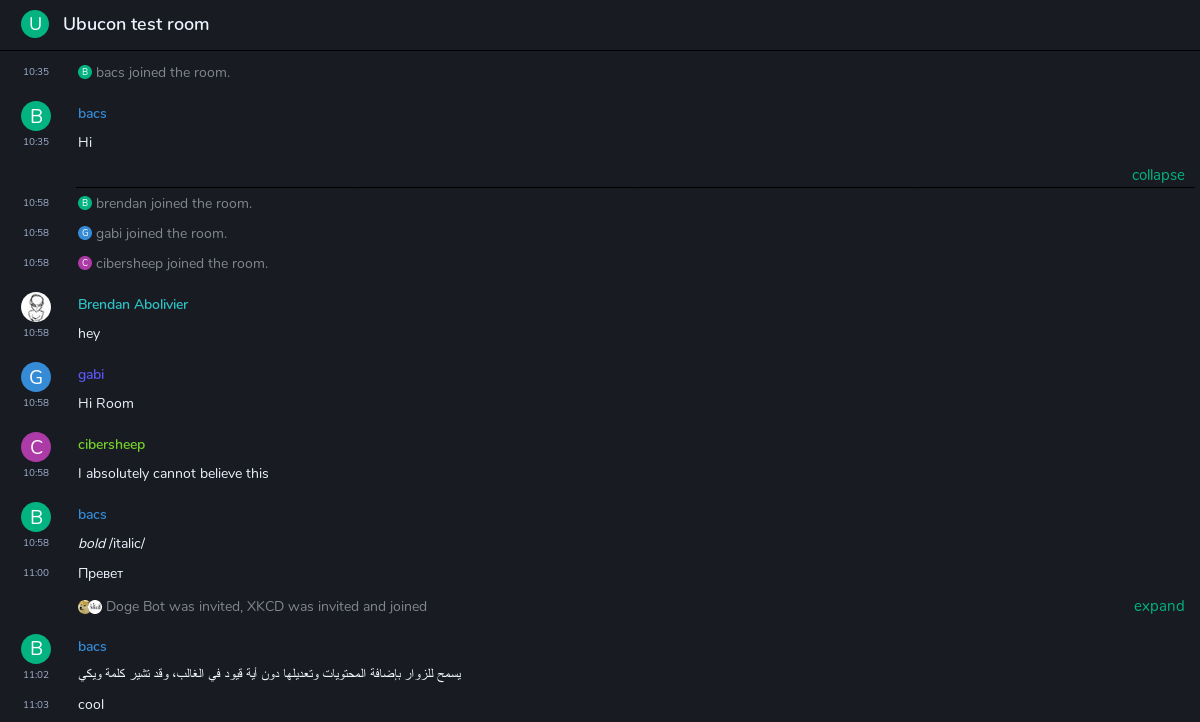
From there, the attendee can use the instance of Riot to register on their new homeserver, and federate with every other attendee’s homeserver, but also every other homeserver on the Internet.
 The servers federating between themselves but also with some from the wider
Internet
Once the workshop is done, the host can then delete every server with python -m install_party delete --all:
$ python -m install_party delete --all
INFO - Deleting instance for name jswho...
INFO - Deleting domain name for name jswho...
INFO - Deleting instance for name czxcx...
INFO - Deleting domain name for name czxcx...
INFO - Deleting instance for name coogl...
INFO - Deleting domain name for name coogl...
INFO - Applying the instances deletion...
INFO - Applying the DNS changes...
INFO - Done!
$
Of course, this deletion mode also has a dry-run mode, which can be turned on
with -d.
They can also delete specific servers with -s foo -s bar (which would only
delete the servers foo and bar), or delete every server except one or more
with -a -e foo -e bar (which would delete every server but foo and bar).
This became very handy when one person arrived late to the workshop, and didn’t
get the time to finish it, so I could just give them some extra time to work on
it and exclude their server’s domain from the deletion I performed shortly
afterwards.
At any time, the host can also list every server that is still active with
python -m install_party list:
$ python -m install_party list
+--------+-----------------+------------------+----------+-------+
| Name   | Instance name   | Domain           | Status   | IPv4  |
|--------+-----------------+------------------+----------+-------|
| jswho  | ubucon-jswho    | jswho.ubucon.... | ACTIVE   | ...   |
| czxcx  | ubucon-czxcx    | czxcx.ubucon.... | ACTIVE   | ...   |
| coogl  | ubucon-coogl    | coogl.ubucon.... | ACTIVE   | ...   |
+--------+-----------------+------------------+----------+-------+
$
This mode can also detect orphaned domain names (i.e. domain names which target IP address isn’t a known instance) and orphaned instances (i.e. instances that don’t have a domain name targetting their IP address):
$ python -m install_party list
+--------+-----------------+------------------+----------+-------+
| Name   | Instance name   | Domain           | Status   | IPv4  |
|--------+-----------------+------------------+----------+-------|
| jswho  | ubucon-jswho    | jswho.ubucon.... | ACTIVE   | ...   |
+--------+-----------------+------------------+----------+-------+

ORPHANED INSTANCES
+--------+-----------------+----------+-------------+
| Name   | Instance name   | Status   | IPv4        |
|--------+-----------------+----------+-------------|
| czxcx  | ubucon-czxcx    | ACTIVE   | 54.38.70.93 |
+--------+-----------------+----------+-------------+

ORPHANED DOMAINS
+--------+----------------------------+--------------+
| Name   | Domain                     | Target       |
|--------+----------------------------+--------------|
| coogl  | coogl.ubucon.abolivier.bzh | 54.38.70.225 |
+--------+----------------------------+--------------+
$
The big 1.0
A short while after Ubucon, I finished a basic implementation the three modes I’ve described above (I had already implemented the creation and was halfway done implementing the listing when the workshop happened), and released v0.3.0 with these.
Since then, I’ve been iterating on improving the codebase, adding new features to the modes, and polishing the whole thing in order to make it easier to use and contribute to. All of the improvements I’ll describe here are documented in the project’s README.
A major change is that I’ve added the ability for users to use their favourite DNS provider, as well as their favourite instances provider (i.e. the API to use to create instances), instead of the hardcoded OVH and OpenStack (which are the ones I personally use). These providers are still available, but users can now add their own providers by creating a Python class that implements the correct API, dropping it as a file in the correct location, and start using it right away.
The creation mode also got two main improvements. The first one is the ability
for multiple instances to be created in the same run with the -N/--number
command-line argument. This is already something I’ve described above, but
didn’t exist in previous versions of Install Party (indeed, for the Ubucon
workshop, I had to run Install party multiple times in multiple terminals in
order to genenerate the number of instances I was going for).
Another new feature of the creation mode is the ability to provide a
post-install script with the -s/--post-install-script. This script will be
run on the new server(s) after the installation of Riot and Caddy.
The rest of the work was mostly about cleaning up the codebase (e.g. getting rid of some inconsistencies in the name of some variables of classes), adding some proper logging, adding docstrings to (almost) every function of the project, and improving and updating the user-facing documentation in the README.
That’s all folks!
If you’re interested in following along further developments of Install Party (though I expect it to become much calmer now), want to report an issue when using it, or want to ask a question about it, feel free to join the project’s Matrix room #install-party:abolivier.bzh, or to check out its Github repo!
When I’m writing this post, the video of the workshop Install Party was born for hasn’t been released yet. However, I’ve noticed the staff are starting to publish videos of the event’s talks, so I should update this post in a few days/weeks when the video is released.
I hope you enjoyed reading through this post, see you next time!